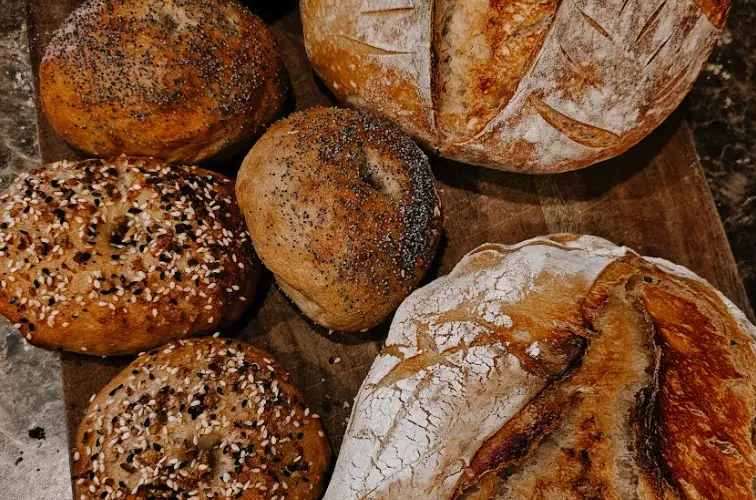
To be honest, I avoided making sourdough for years. I was overwhelmed just thinking about the process and how demanding it was to upkeep. I was gifted a sourdough starter from a friend, and that really gave me a head start. If you are unfamiliar with sourdough, a starter is wild yeast and bacteria. It’s essentially a living fermented culture on your countertop. Most people name theirs so have fun with that!
In recent years sourdough has been making waves in kitchens, making a resurgence in popularity among home bakers. This ancient method of bread-making, which relies on natural fermentation, has become a beloved pastime and truly a culinary art form. The unique flavor and texture of sourdough bread are simply delightful. It is becoming a staple in many households.
Homemade sourdough offers numerous benefits beyond its delightful taste. For starters, it is often easier to digest than commercial bread due to the fermentation process, which breaks down gluten and other complex carbohydrates. This can make it a more suitable option for those with gluten sensitivities. Additionally, sourdough’s natural leavening process helps preserve the bread for longer periods, reducing the need for preservatives. Beyond bread, sourdough can also be used to create delicious and nutritious cereals like the one I shared last month.
Preparing the Starter
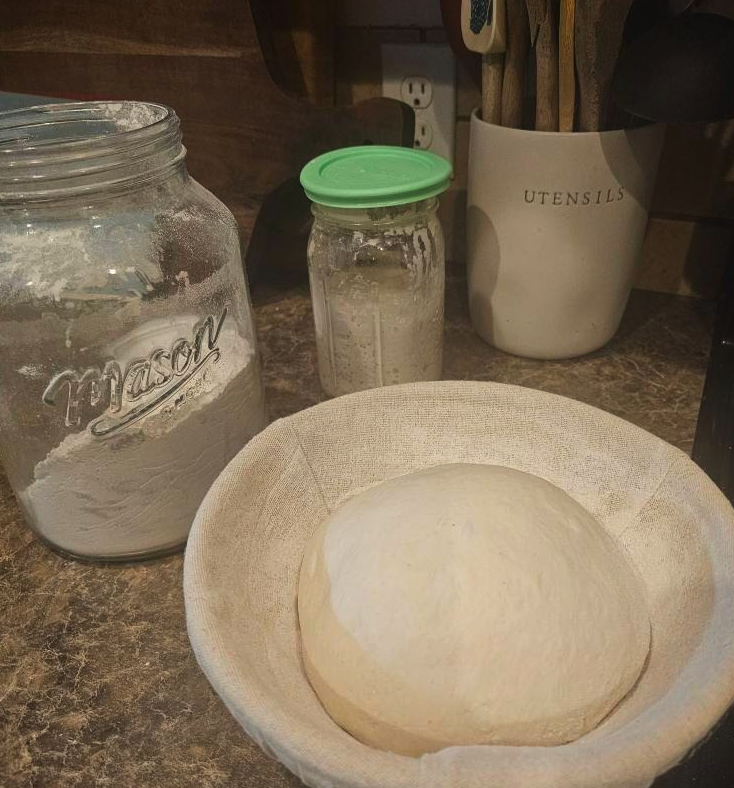
Creating a sourdough starter is an essential first step in baking delicious homemade bread, and it requires only a few simple ingredients: flour and water. To begin, mix equal parts of flour and water in a non-reactive container, such as a glass jar or plastic bowl. Stir the mixture until it forms a thick, smooth batter, and cover it loosely with a cloth or lid to allow airflow. Place the container in a warm area of your kitchen. Every 24 hours, discard half of the starter and refresh it with equal parts of fresh flour and water, mixing thoroughly each time. This process, known as “feeding,” encourages the growth of natural yeasts and bacteria that give sourdough its characteristic tangy flavor and rise. Within about five to seven days, the starter should become bubbly and develop a pleasant, sour aroma, indicating it’s ready for baking. To keep your starter healthy, continue regular feedings, ensuring it remains at room temperature if you bake frequently, or store it in the refrigerator for weekly maintenance if you bake less often. Always use clean utensils and containers to avoid contamination, and if you notice any unusual odors or colors, discard the starter and begin anew.
Making the Dough
This is where most recipes get technical, and it is also something that deterred me from wanting to try sourdough. I didn’t want to invest in a whole bunch of stuff and have to weigh everything out. I’m a busy mom, and I didn’t want to have to invest a whole lot of energy and money upfront. One of the most appealing things about sourdough is the minimal ingredients: water, salt, and flour. So, let’s just say this is the lazy girl’s intro to sourdough. The gram measurements can be converted to cups and teaspoons. As you learn more, you can buy a scale and become more technical. I’m just trying to help you get going and bake some bread! I will also note that recipe steps can vary greatly between bakers. It depends on the time of year, humidity in the air, and various other factors. I say this because I have used several recipes and always ended up making adaptations until it was my own. The most accurate way to create consistent results is by using a kitchen scale.
Ingredients for Sourdough Bread:
- 3 1/2 cups All-purpose flour
- 1/2 cup Active Starter
- 1 1/3 cups water
- 2 teaspoons salt
Instructions
Feed a sourdough starter this will need to happen 4-12 hours before starting the dough, ensuring it is active and bubbly. I created a routine of feeding mine in the morning so I could mix and bulk ferment overnight.
Step 1: Mix warm water, active starter, salt, and flour with a wooden spatula or even your hands in a large mixing bowl.
Step 2: Stretch and fold the dough. Grab one edge of the dough and pull up, stretching it out, pulling upwards, and fold it over on itself. Repeat this process every 30 minutes three times, and cover in between folds.
Step 3: Cover bowl with a lid, damp towel, or plastic wrap. It’s time to allow the dough to ferment in bulk. This is in a warm place, until it has doubled in size. This could take 12 hours or longer depending on environmental factors and the maturity of your starter. I normally mix and allow to bulk overnight. However, be careful not to let it over-ferment.
Shape
Step 4: Lightly dust flour on a clean workspace. Gentle pull dough into a square shape. Fold the dough halfway onto itself and repeat with the other side. Begin to shape it into a ball gently pushing and pulling the dough away and towards you. I recommend watching a YouTube video of this process.
Step 5: Place dough in a floured banneton or bowl with a floured tea towel. Be sure to place the bottom seam side up.
Step 6: Tie a plastic bag around the bowl. Let the dough rest for 12 hours in the refrigerator or rise on the counter at room temperature for 4 hours.
Bake
Step 7: Preheat a dutch oven to 415 degrees. Now I will note I had to play with the timing and temperature. Every oven is different!!
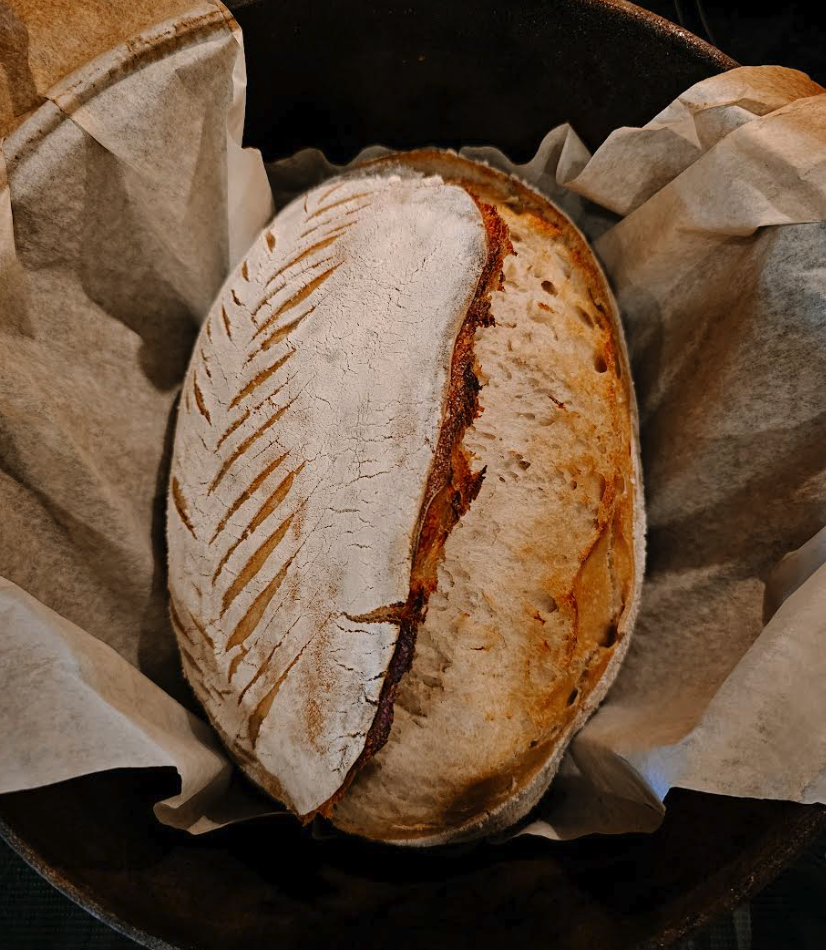
Step 8: Put the dough on a piece of parchment paper. Lightly dust with flour and score with razor blade or bread lame. After making your design, create a large score for expansion during cooking.
Step 9: Transfer parchment paper with the dough into the hot dutch oven, I like to add a couple ice cubes on the outside of the parchment paper to help with the steaming process. Place the lid back on and place the dutch oven into the oven. Bake for 20 minutes.
Step 10: Remove the lid and bake for an additional 15-25 minutes or until golden brown. You may also need to adjust the temperature here.
Step 11: Remove from the oven and place loaf on a drying rack or cutting board. Allow to fully cool before cutting.
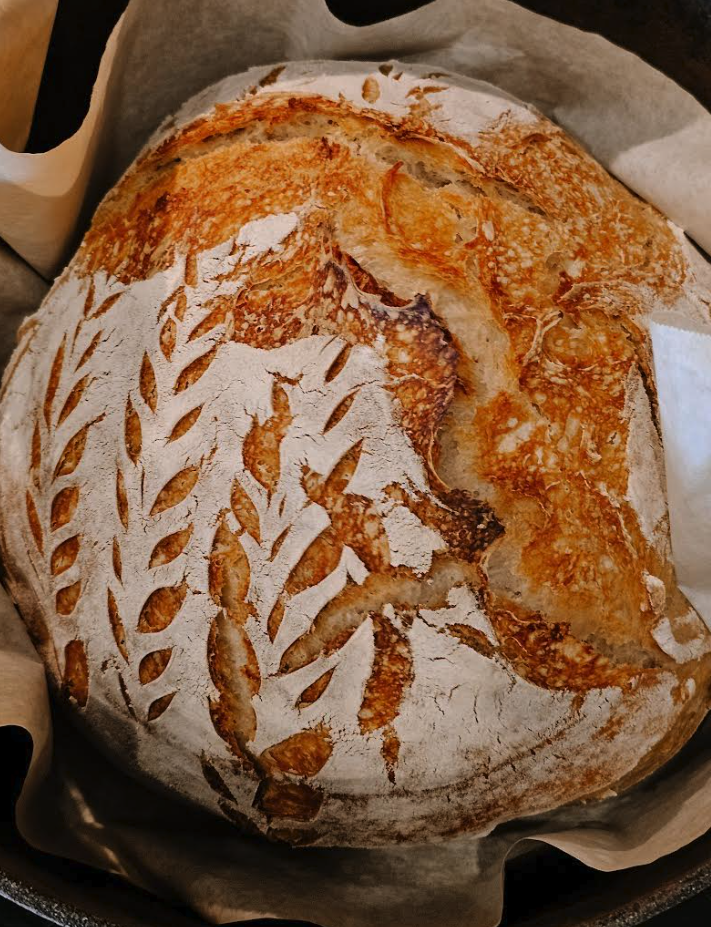
Enjoy! I love making bread for my family and I’m sad I waited too long to add sourdough to my list of skills and recipes. I talk a lot about self-sufficiency and learning how to make bread without yeast is an important skill to have. Plus, if you want to give sourdough a break you can hibernate your starter in the fridge. It really is not that complicated. I hope this encourages you to give it a try. I recommend purchasing a starter for your first time!

