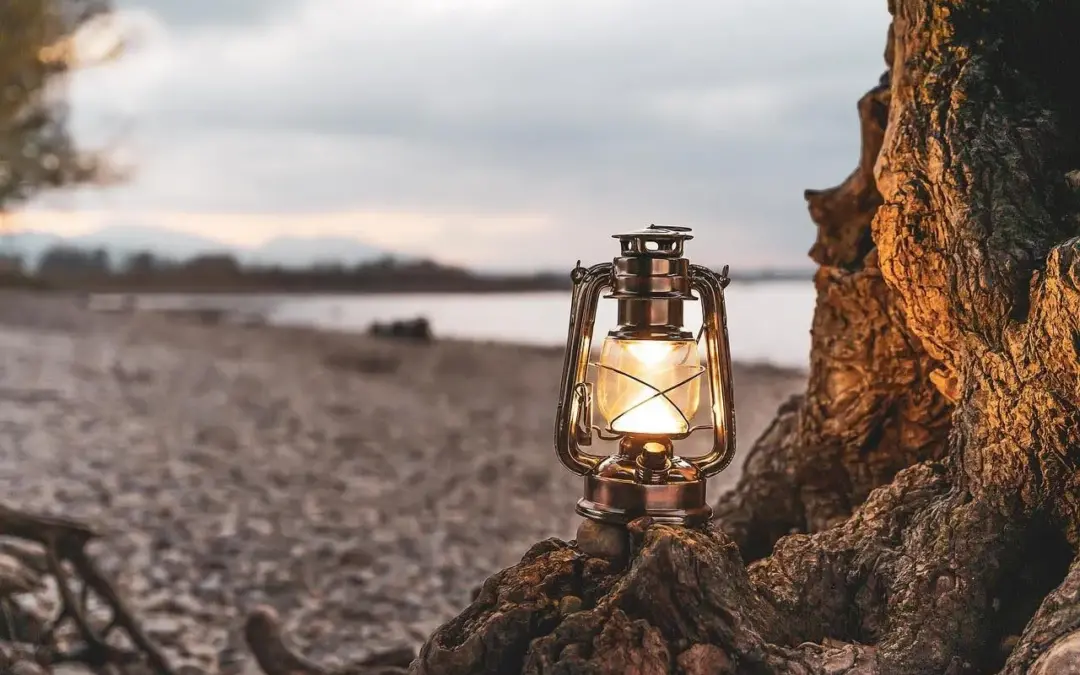
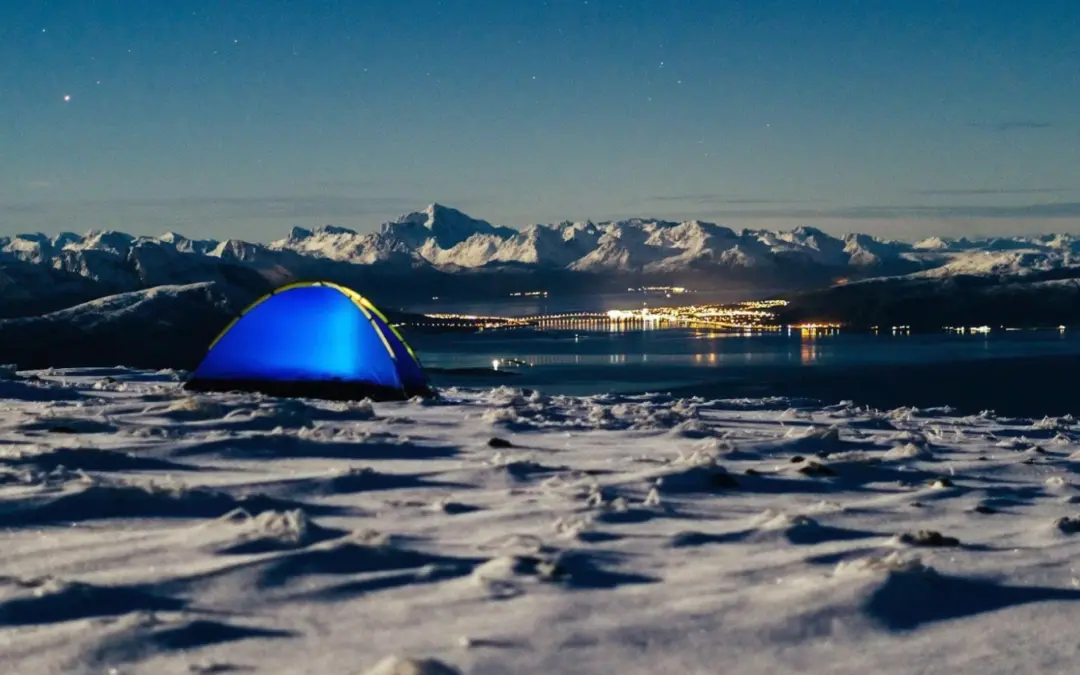
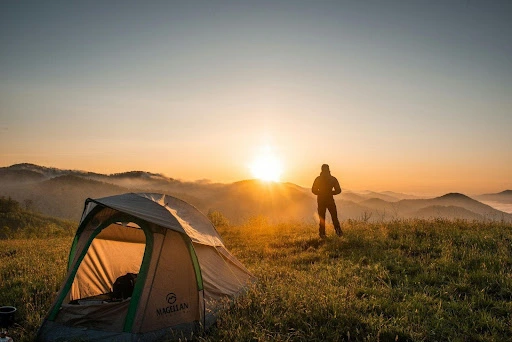
5 Ways to Illuminate Your Campsite at Night
When venturing into the wilderness, the sun’s descent brings a new set of challenges and adventures. Proper lighting not only ensures safety by illuminating potential hazards and deterring wildlife but also adds convenience for tasks like cooking or map...
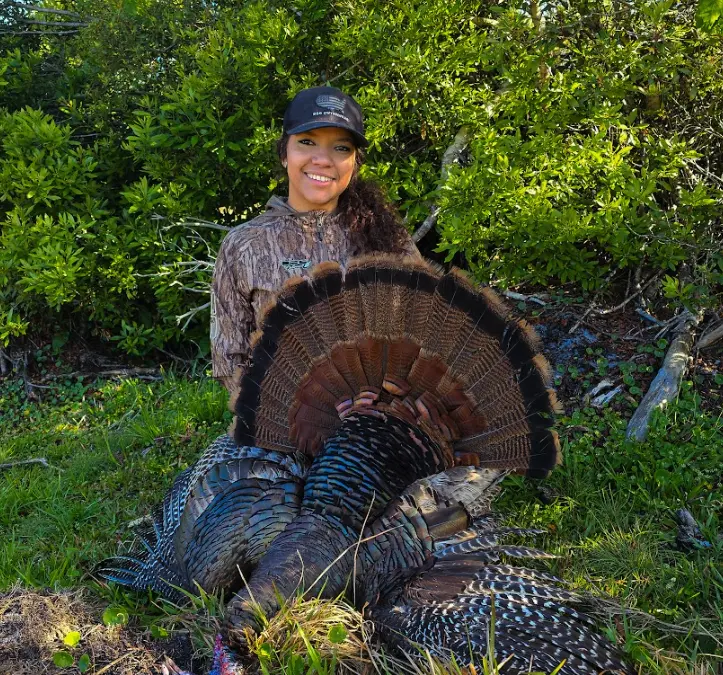
From Hunt to Table & Wild Turkey Tenders Recipe
It is important for me to create and show a start-to-finish model not only to my kids but also to others who follow me. Creating a comprehensive beginning-to-end model for hunting to eating the harvest is essential for a multitude of reasons, ranging from...
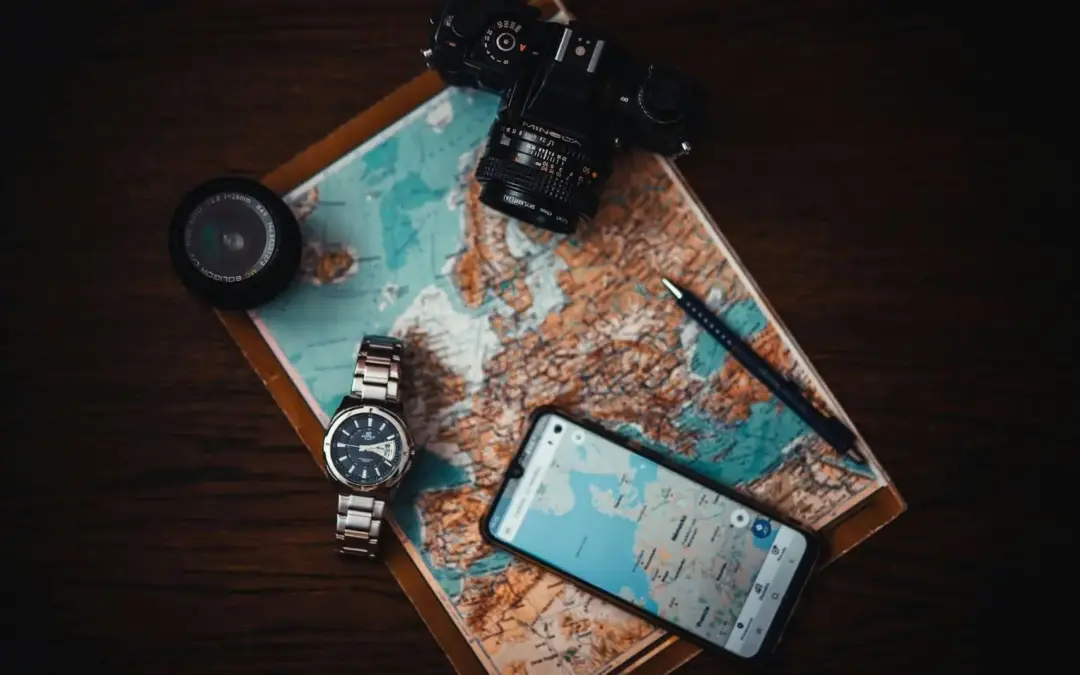
Capturing the Wild: A Camper’s Guide to Nature Photography
Nature photography offers campers a unique opportunity to capture the sheer beauty and transient moments of the wild, from the serene sunrise over a misty lake to the bustling life of the forest undergrowth. Yet, many enthusiasts hesitate to venture into this form of...
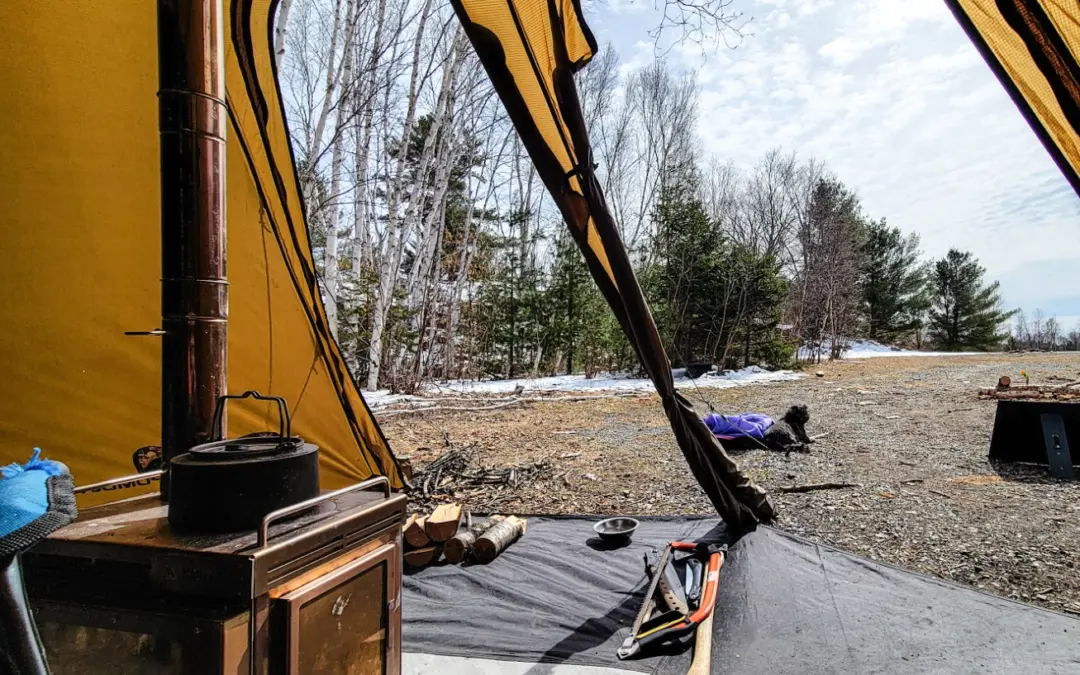
How to Buy a Portable Camping Woodstove
For outdoor enthusiasts, a reliable and efficient portable camping woodstove is more than just a tool; it’s the heart of the campsite, providing warmth, light, and a means to cook meals away from the cold. Selecting the right woodstove can make or break a...
High Timber Dreams: A Sanctuary for Heroes
High Timber Dreams (HTD) is a nonprofit organization that stands for the noble cause of honoring and supporting our heroes – the Veterans, Active Duty, and First Responders. But that’s not it! They also extend their hands towards the youth, leading them...
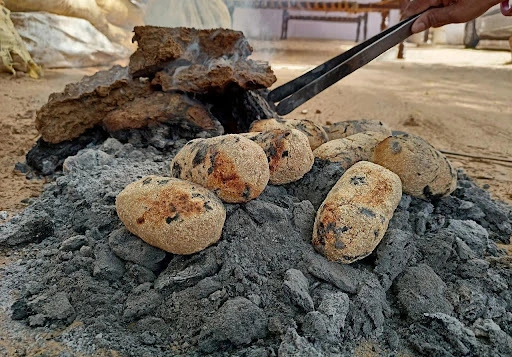
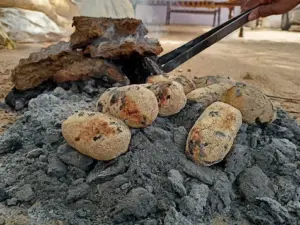
4 Ingenious Ways to Cook in Nature Without Gear
Cooking in nature, without the convenience of kitchen tools, is not only a vital survival skill but also an innovative way to enrich your outdoor adventures. This practice demands creativity and resourcefulness, challenging you to use the natural environment to your...

TRENDING
THE LATEST
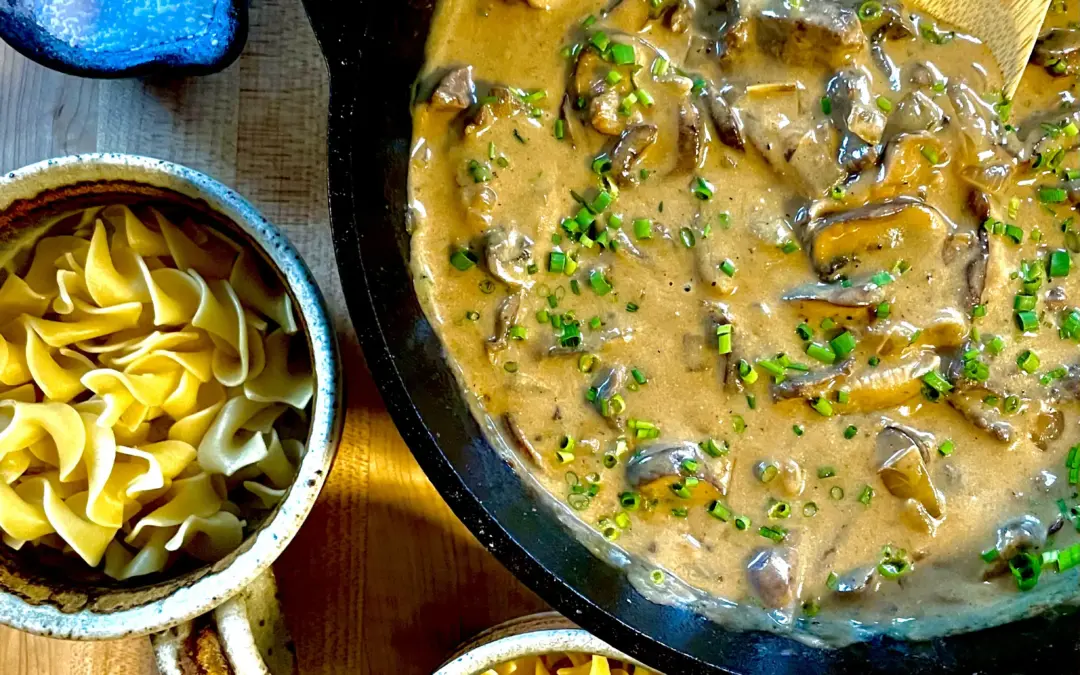
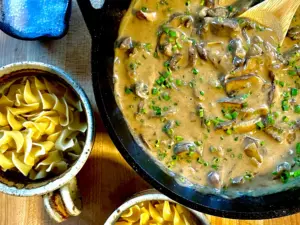
An Axis Deer Stroganoff Recipe by Chef Rikki Folger
...
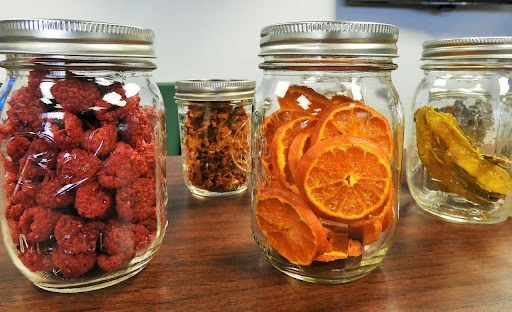
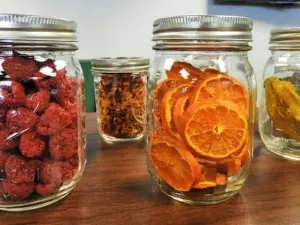
What’s the Difference Between Dehydrated and Freeze-Dried Foods?
...
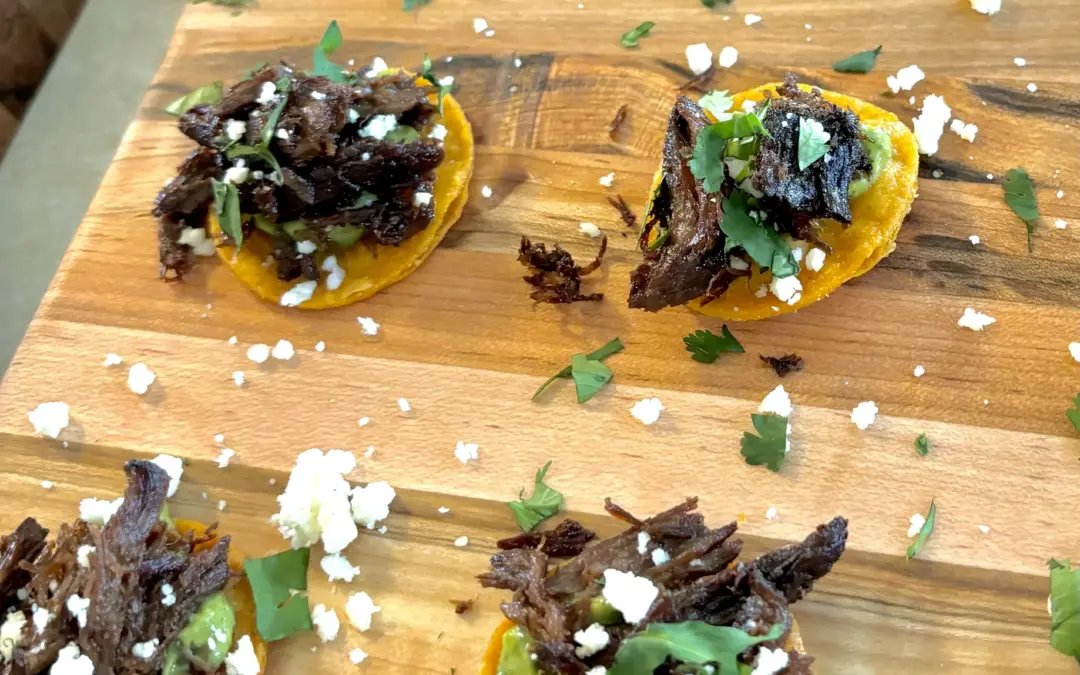
Crispy Wild Duck Carnitas: A Chef Rikki Folger Creation
...
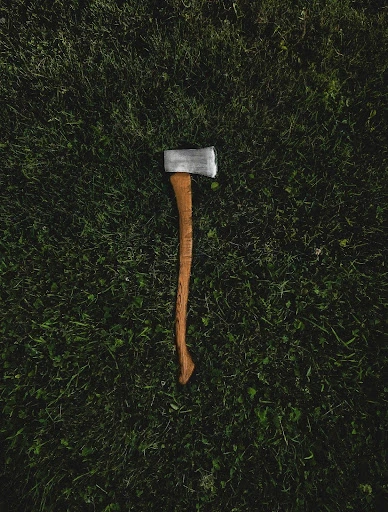
What is the Right Axe to Bring Camping?
...
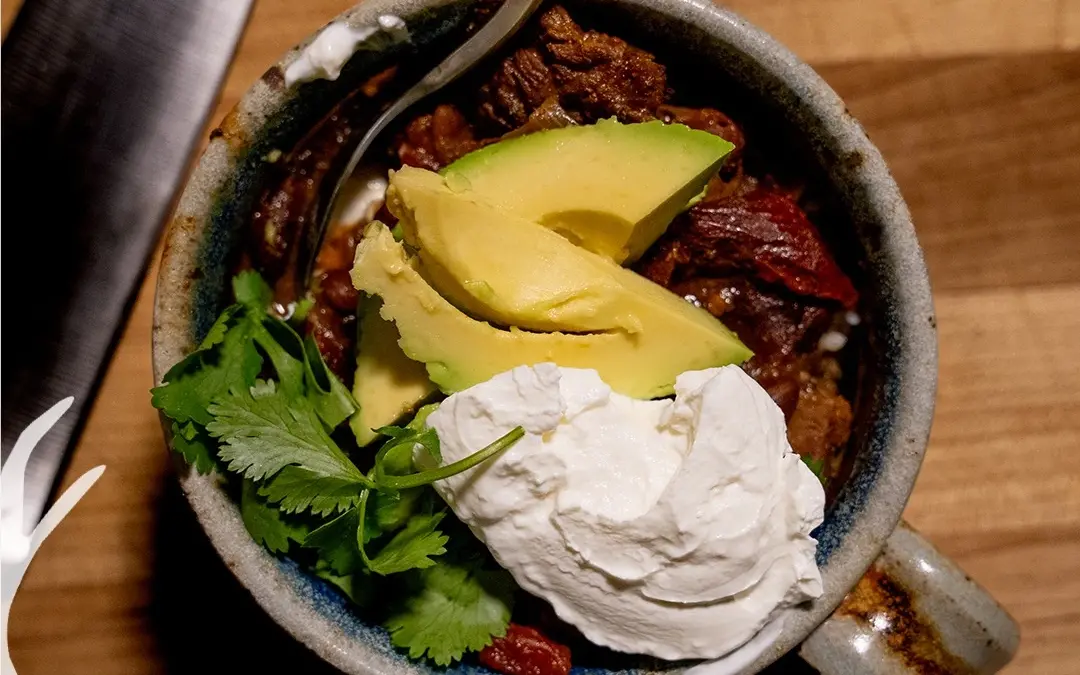
Venison Chili con Carne: A Hearty Wild Game Delight
...
5 Things I’ve Learned Living Outside in the Winter
...
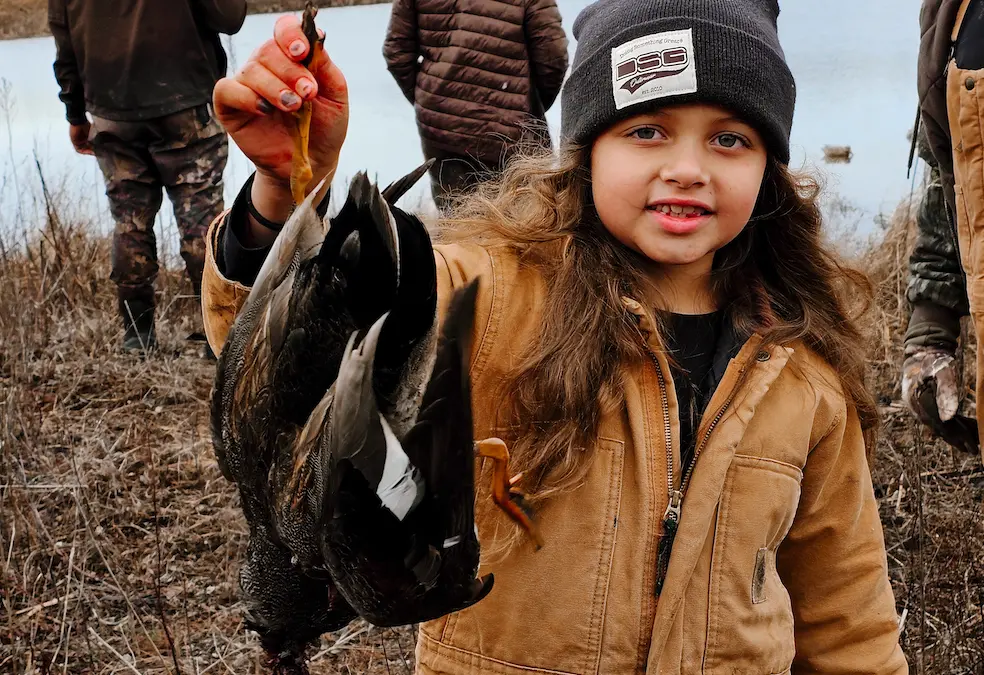
Waterfowl Hunting with Kids
...
Myth Buster: Is Muscle Memory Real?
...
Hammock or Tent: Which is Right For Your Camping Adventure?
...
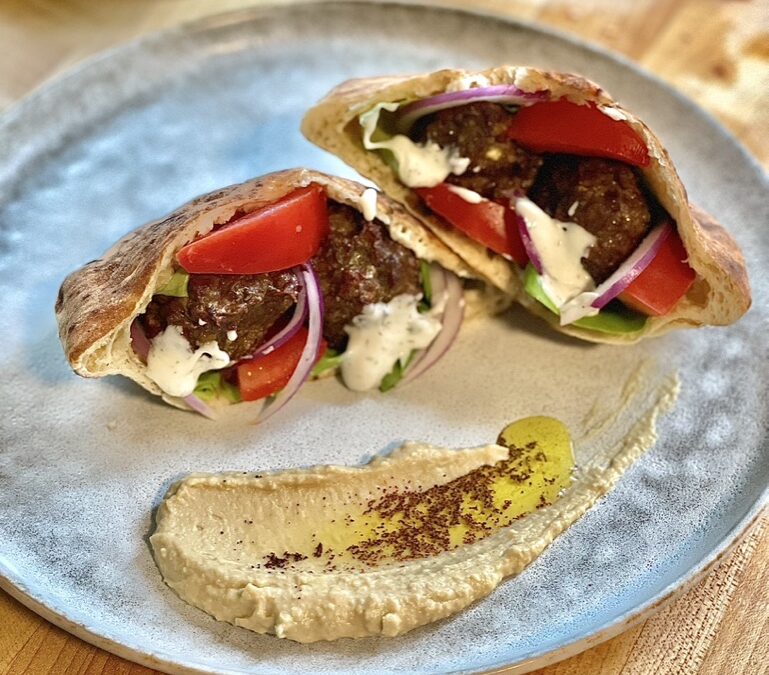
Savory Delight: Homemade Venison Gyro Recipe for a Flavorful Summer Feast
...
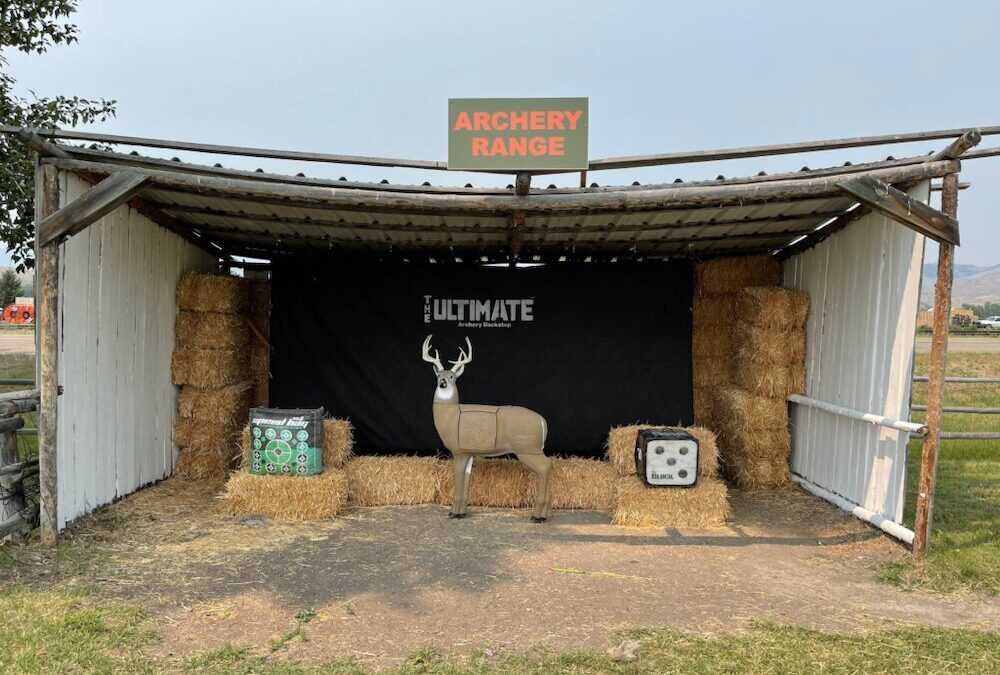
How to Build a DIY Target and Backstop for Your Home Range
...
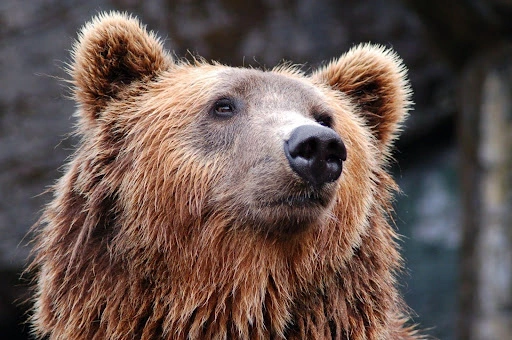
Bear Spray: A Must-Have Addition to Your Outdoor Kit
...
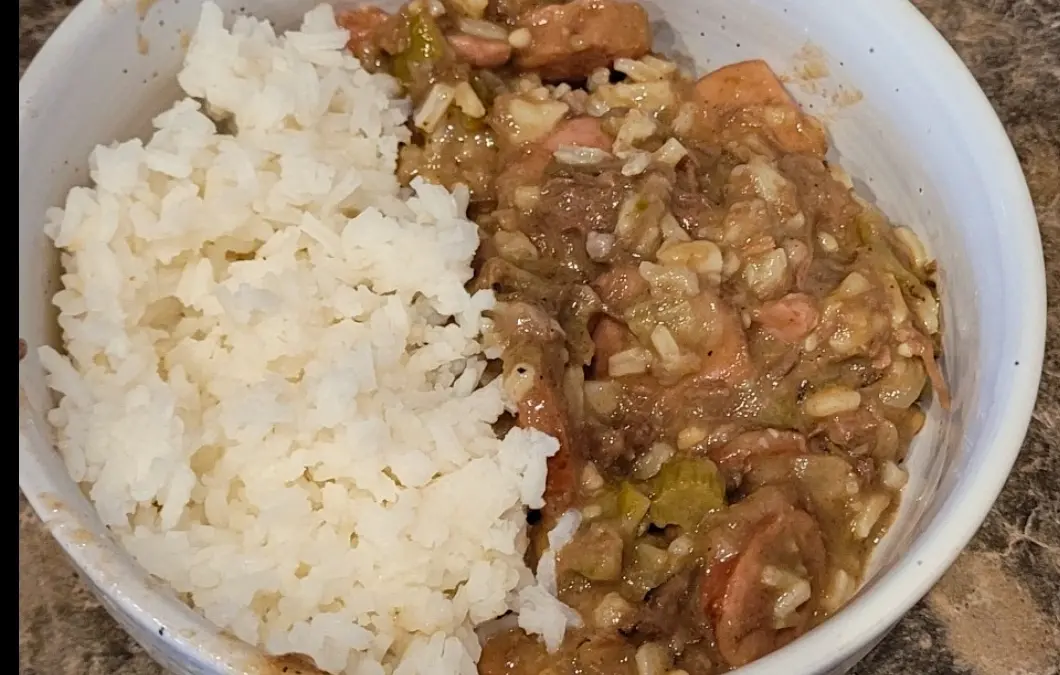
From Field to Feast: A Gourmet Waterfowl Adventure for Duck Gumbo
...
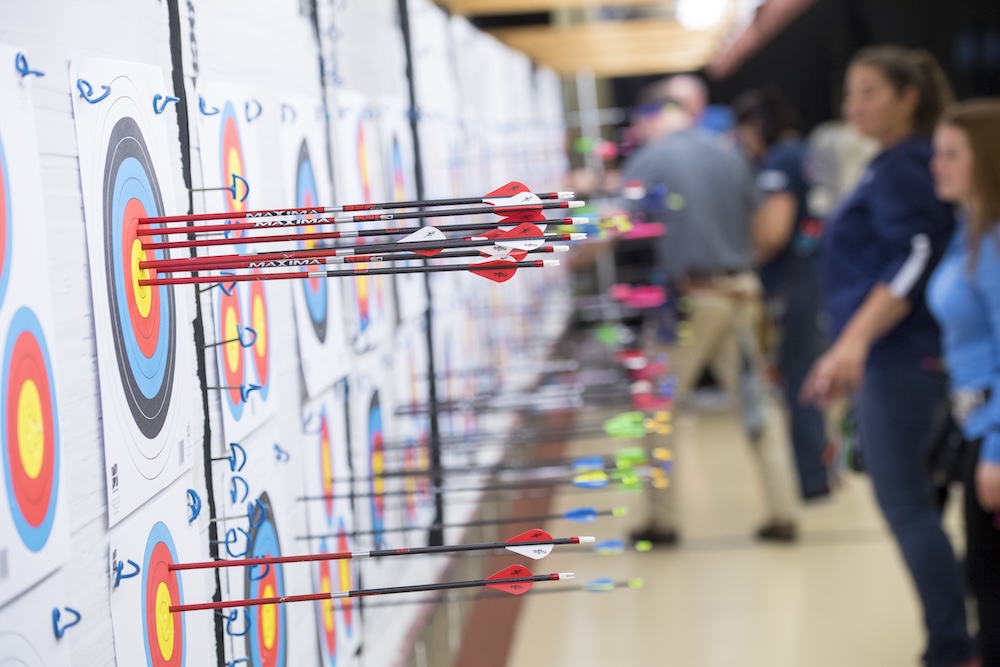
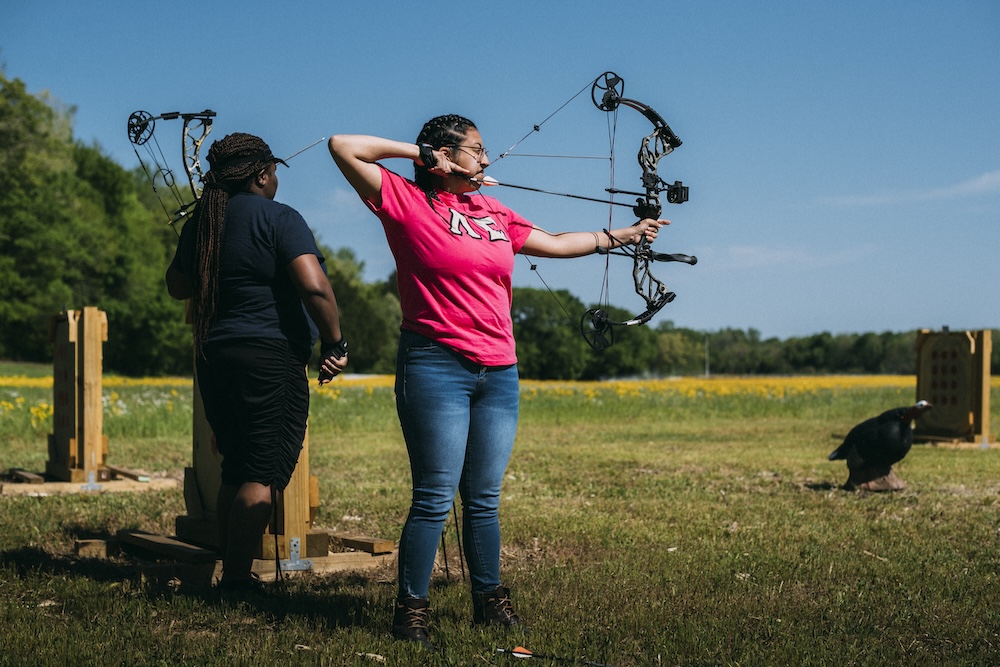
Choose the Right Arrow Size for Each Situation
...
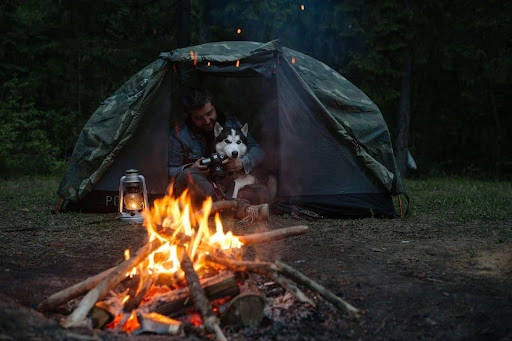
Preparing Your Dog for a Winter Camping Adventure
...
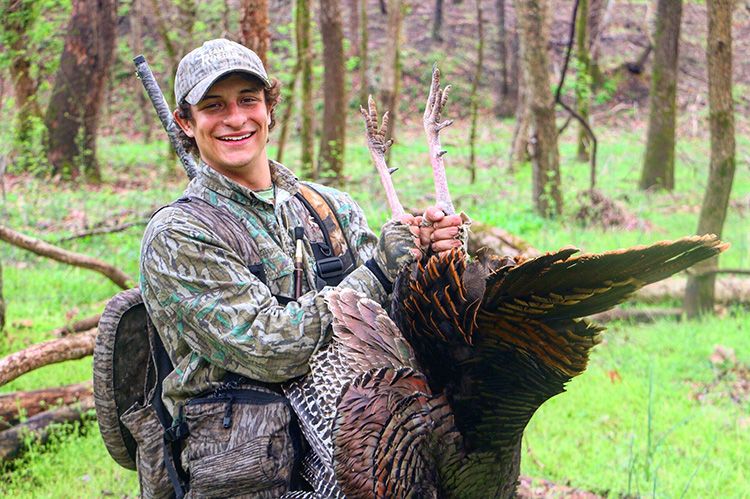
4 new ways to tag public-land turkeys right now
...
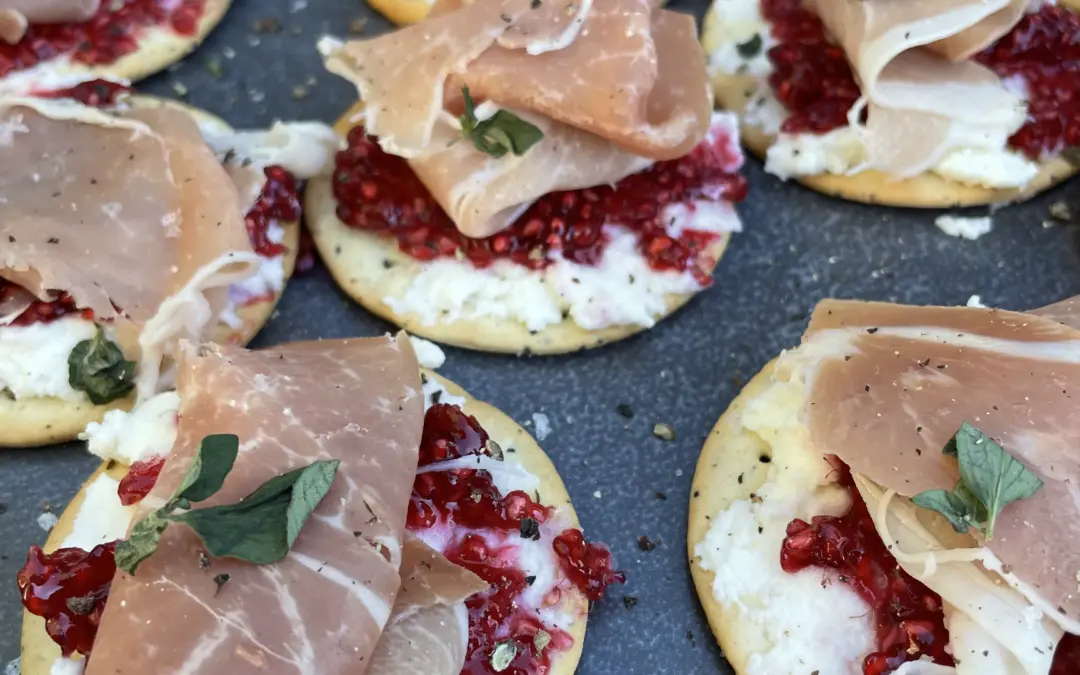
Preserving Summer’s Bounty: Wild Raspberry Jam Recipe by Chef Rikki Folger
...
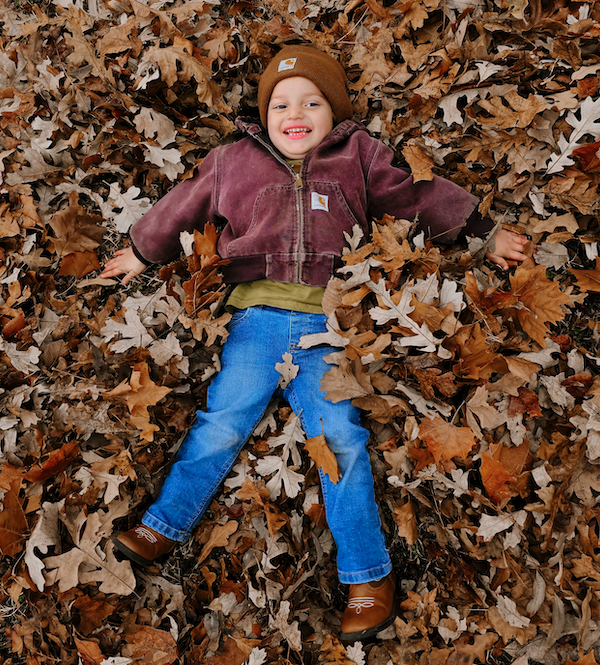
Embracing the Chill: The Benefits of Kids Being Outside in Winter
...
How to Safeguard Your Camping Gear Against Cold Weather
...
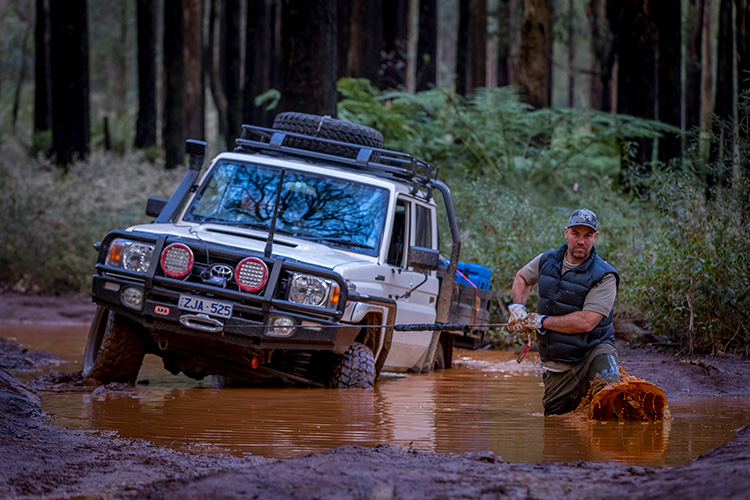
4WD Survival—5 Things To Have When You’re Really Stuck
...