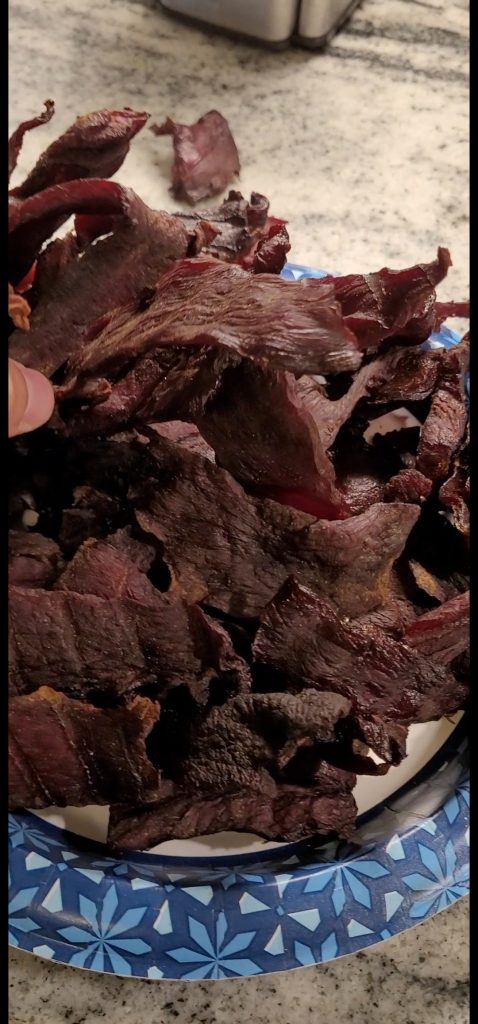
Can we say jerky is America’s favorite snack? Jerky is one of my must-have hunting snacks, I always have some with me in the field. I make batches all the time for my family’s preferred snacks. The process of drying meat is something that has been practiced for centuries. The jerky we all know and love originated from North and South American Native tribes around 1550. Some experts say jerky dates back to ancient Egypt. All I know is fresh jerky does not last long around my house.
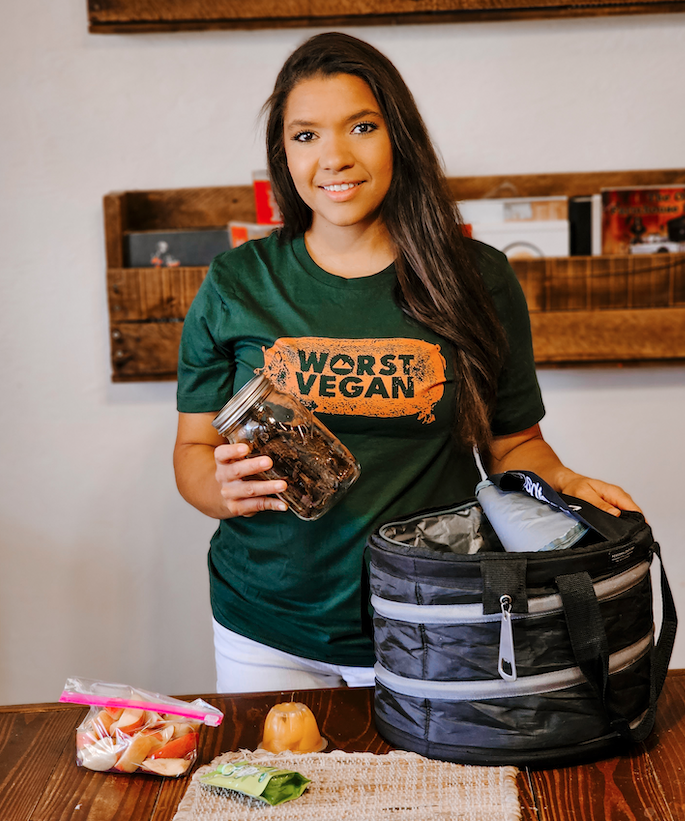
Dehydrating meat was originally used as a way to preserve meat past the harvest. Today, it is also a simple low-calorie way to add more protein to your diet. Or, a way to incorporate wild game into your diet. Jerky is a good source of vitamins and minerals. Including, zinc, iron, choline, and vitamin B12.
I have smoked Canadian goose, elk, and deer jerky on my Traeger pellet grill. Additionally, you can use a jerky gun to make jerky strips out of ground beef or ground venison in a dehydrator. Making jerky allows you creative freedom with endless flavor combinations. The process of making jerky is fairly simple and most can be completed in a day. Learning how to make jerky is a crucial survival skill. I will be sharing 3 different methods and recipes to make jerky. Jerky is not complicated once you get the recipe and process down.
Table of Contents
Dehydrated: The Modern Way
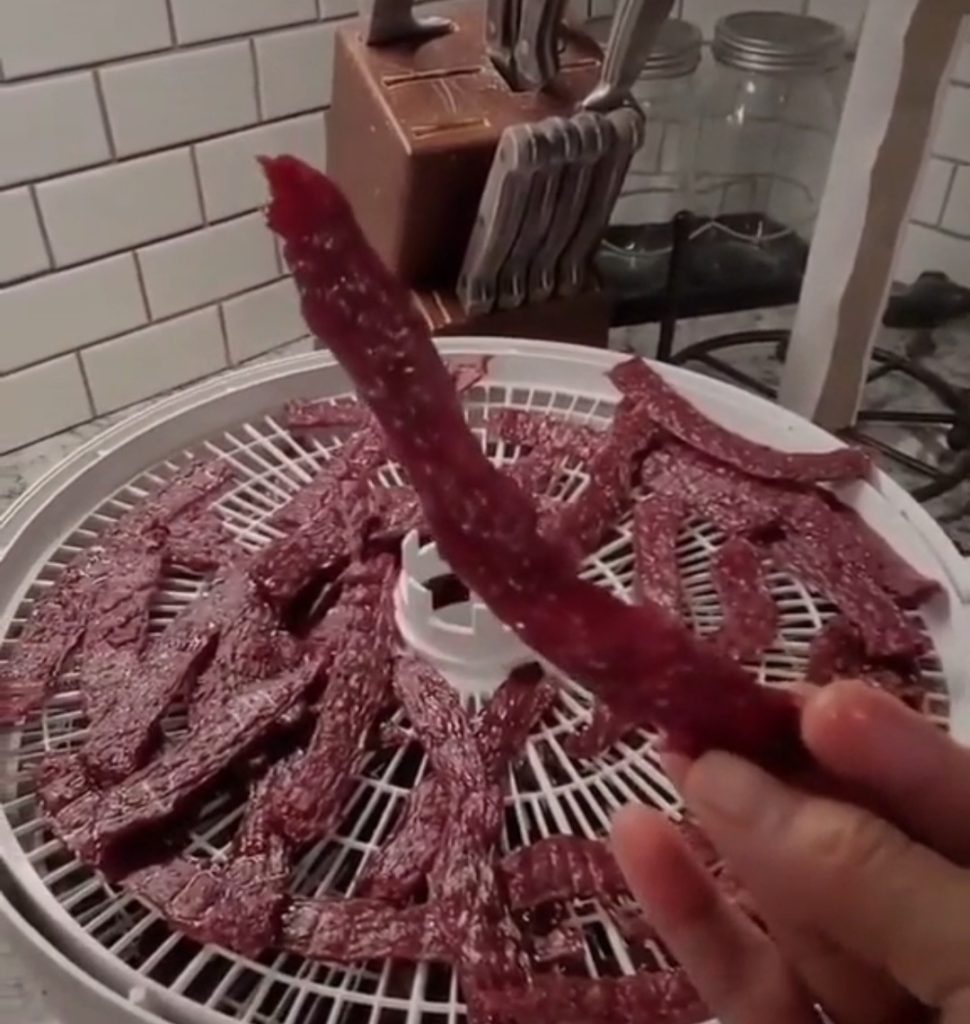
Modern conveniences have widened the methods of jerky making. Using a dehydrator is one of my go-to ways for making quick snacks. It also adds versatility you can slice the meat or use a jerky gun to mold ground meats into jerky sticks. Snack sticks from ground meat tend to be chewier. I prefer them for little kids.
JERKY GUN
A jerky gun may look intimidating with all the attachments. But, it’s quite simple. Similar to a caulking gun, it pushes the ground meat up through various molds to form meat sticks:
- Combine your seasoning with the ground meat.
- Roll into large balls to fit into the open end of the jerky gun.
- Select the tip mold for flat or rounded snack sticks.
- Tighten down the top lid piece with the mold insert. Pump the gun creating desired length strips.
INGREDIENTS
- 1 LB Venison Roast (thinly sliced)
- 4 Tablespoons Soy sauce
- 4 Tablespoons Worcestershire Sauce
- 1/4 teaspoon Black Pepper
- 1/4 teaspoon Garlic Powder
- 1/4 teaspoon Onion Powder
- 1/4 teaspoon Red Pepper Flakes (optional)
- 1/2 teaspoon Sea Salt
- 1 Tablespoon Honey
INSTRUCTIONS
- Cut venison into thin strips, about ¼” thick. NOTE: For easier cutting, I like to cut the meat while it is partially frozen with a filet knife.
- Combine all the ingredients. Let the mixture marinate for 2-4 hours.
- Drain off excess marinade. Place the meat onto the dehydrator trays. NOTE: Pack the trays with meat as close as possible. Do not allow them to touch.
- Dehydrate on the meat/jerky setting at 160° for 4-6 hours. Dry until meat is dry and bendable; but, does not break. NOTE: I typically make this right before bed and let the dehydrator run overnight. Be sure to learn how your dehydrator dries before leaving it overnight. You do not want to over-dry it. It will not burn, it will get very hard.
STORAGE
Jerky can be made in bulk quantities. Make sure you allow the jerky to completely cool before packaging away. If the meat is still warm, condensation will occur in the airtight container, causing mold and spoilage. For long-term storage, I recommend vacuum-sealing the meat. The main reason jerky does not spoil is due to the lack of moisture to support bacteria growth. Jerky can be frozen until ready to eat to help preserve freshness. Most jerky will keep in an airtight container. It can keep for months without refrigeration. Be sure to store it in a cool and dry place.
Sun-Dried: The Old Fashioned Way
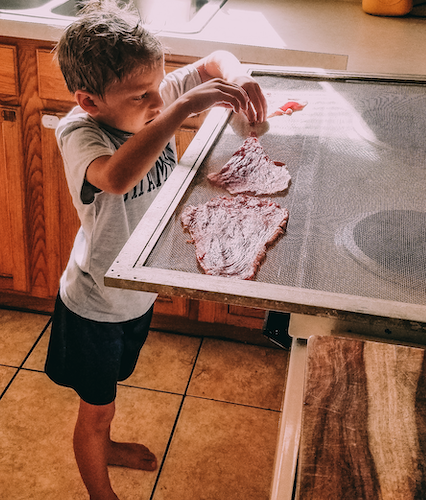
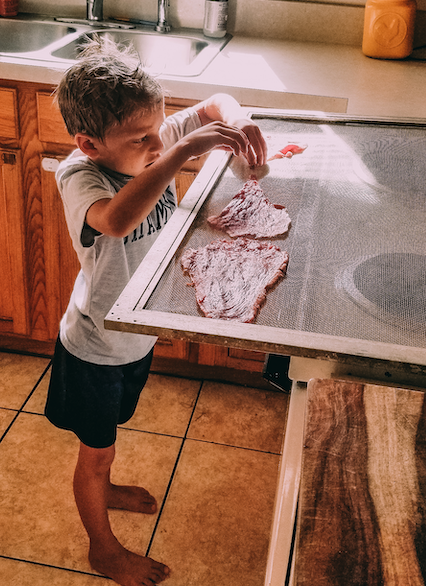
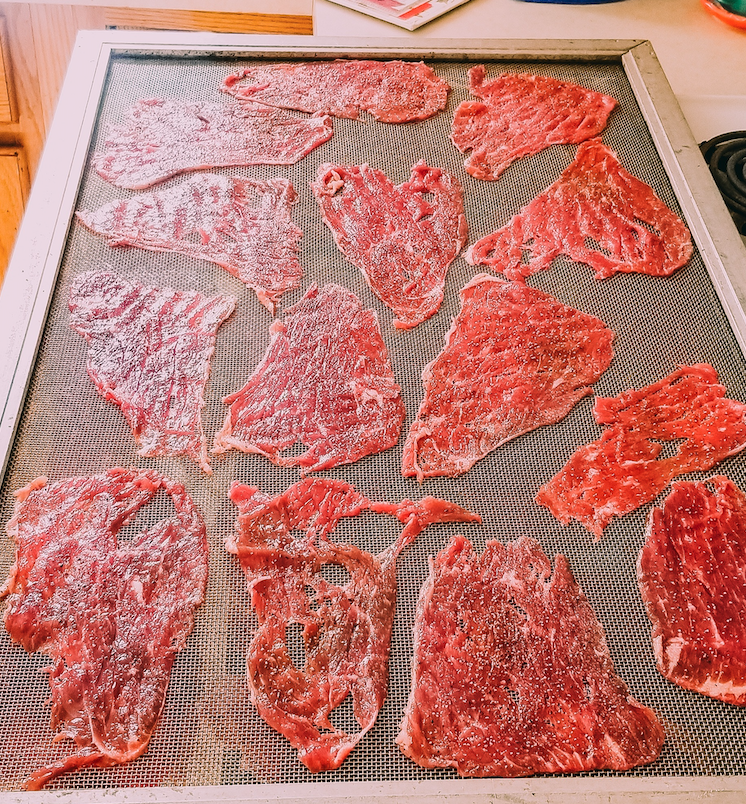
Sun-dried jerky is just that, the process of drying meat using the heat from the sun. It is recommended only for lean beef, young lamb, or venison. Be sure to pick the hottest summer days to make the jerky. Sun-drying jerky is one method, I hold near and dear. This recipe was shared with me by my Grandpa Davis when I was just 8 years old. Yes, I have been making jerky ever since! Sun drying is one of the oldest techniques used to preserve various types of meat. This traditional method has been passed down for generations. I use old stainless steel screens from old screen doors that were passed down to me. However, you can easily make your own with stainless mesh and a wooden frame. I have seen others use a foldable drying rack. However, in Oklahoma, we have too many bugs and animal predators to use an open drying rack. I recommend finding or making screens. They last for years.
INGREDIENTS
- Beef Round Rump Roast
- Salt
- Course pepper
- Red pepper flakes (optional)
INSTRUCTIONS
- When purchasing the beef rump roast, request the store butcher to slice “lunchmeat thin.” The thinner they cut it, the faster the drying time. If slicing your own meat you can use a filet knife to slice as thin as possible. Use a meat tenderizer hammer to beat any thick pieces.
- Place the meat on the metal screens. Lay out slices flat making sure not to overlap or touch the piece.
- Salt generously on both sides. NOTE: Salt is the main ingredient that stops spoilage and promotes drying.
- Sprinkle coarse pepper over top. If you want to add some spice, sprinkle on red pepper flakes.
- Place screens on a warm surface directly in the sun. I typically choose a spot that draws to most heat. Such as the top of a vehicle or a metal shed roof.
- Allow meat to dry for a full whole day in the sun.
- Make sure you have an extra screen to use as a “lid” over the jerky drying screens. This will prevent flies or predators from getting to the meat. The meat should be hardened and dried by the end of the day. The jerky strips should break in half when bent.
Smoked: Classic Flavor
Smoked Jerky is a time-honored method of meat preservation as well. However, many of us use modern smoking devices to get the job done. Something I love about smoking jerky is the versatility of meats you can use. I love smoked elk jerky and my kids’ current favorite is smoked Canadian goose.
INGREDIENTS
- 1 lb. of thin sliced Elk or Deer. NOTE: Beef can be used as well
- 1 Package of original or hickory jerky seasoning (found at sporting goods store)
- 1 Salt cure package
INSTRUCTIONS
- Follow seasoning and cure package mixing directions.
- Pour seasoning and cure mixture over meat and work in with hands.
- Set smoker at 180 degrees F, close lid, and allow to heat for 15 minutes.
- Lay out the slices flat on the grill grate making sure not to overlap. Close the lid and smoke the jerky for 4-6 hours until dry, but pliable.
- Remove from smoker and let air dry for 1 hour. Enjoy!
Smoked Canadian Goose Variation
INGREDIENTS
- 4lbs of wild goose breast (duck will work too)
- 1 ½ cup Soy Sauce
- 1 ½ cup Teriyaki sauce
- 2 Tbsp. Tabasco and or Red pepper flakes (optional)
- 3 Tbsp. Worcestershire sauce
- 2 Tbsp. Garlic powder
- 1 ½ cup Water
- ¼ cup Brown sugar (optional)
INSTRUCTIONS
- Trim away any fat from the breast and slice into ¼” thick strips
- Mix together ingredients and pour into a large Ziploc. NOTE: If using brown sugar make sure it is dissolved.
- Add sliced breast meat into the marinade-filled bags. Close and work into meat for full coverage. Refrigerate for 24 hours.
- Remove meat and place on a paper towel to drain off excess marinade.
- Set smoker at 180 degrees F, close lid, and allow to heat for 15 minutes.
- Sprinkle on red pepper flakes (optional)
- Place breast meat on smoker grates. After 2 ½ hours check every 30 minutes until the meat is dry and bendable.
- Remove and allow to fully cool
