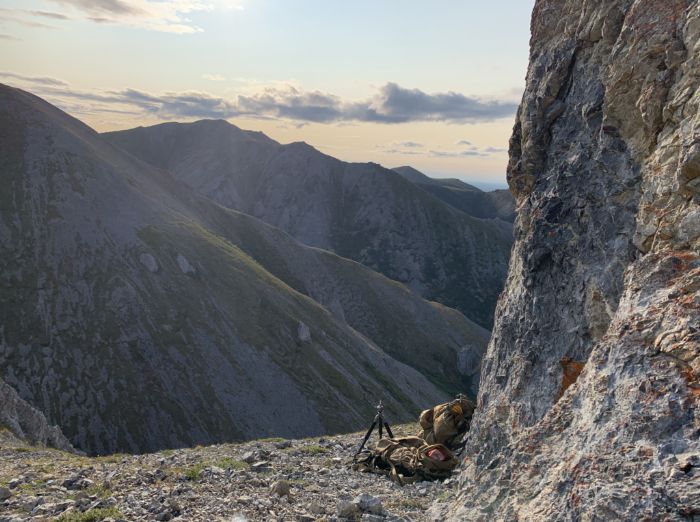
Picture this: You and your hiking group are on a trek to the other end of the expansive valley. You finally reach the edge of the river and realize that crossing it is the only way to get to the other side. What do you do?
For many outdoor enthusiasts, crossing a river is both a challenging and thrilling adventure, but it can also put your life at risk if not done correctly.
In this article, I will be sharing tips on how to cross a river, both individually and as a group, providing you with practical information on how to cross rivers safely.
Table of Contents
Precautions Before Crossing
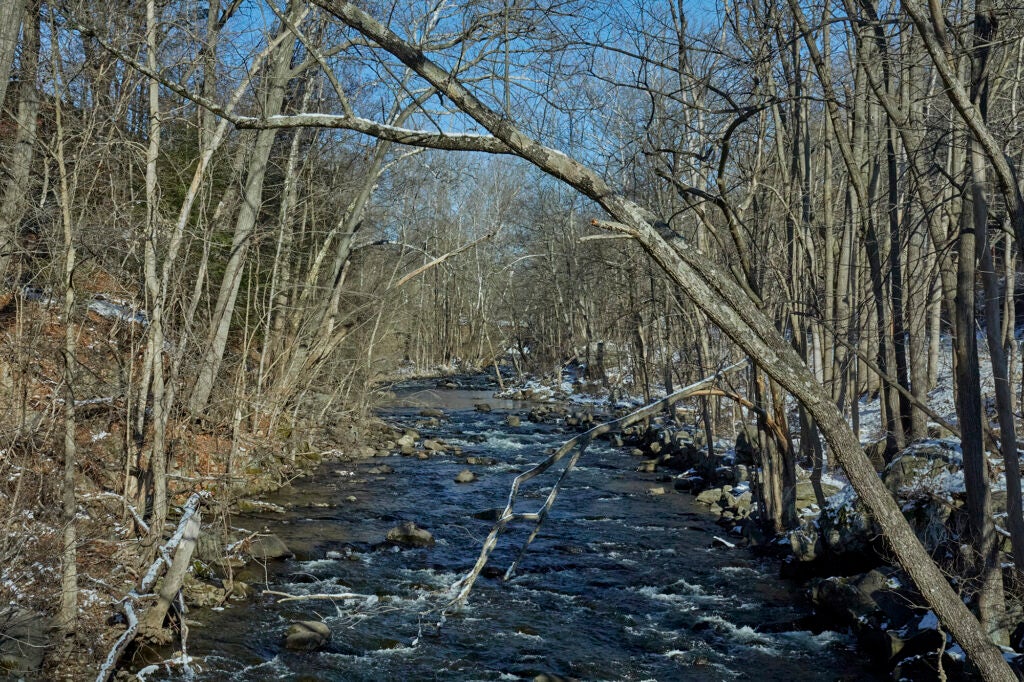
Before diving headfirst into the prospect of crossing a river, it’s crucial to pause and assess the potential risks. The deceptive calm of a river’s surface often masks perilous undercurrents and unstable footing.
Remember, crossing a river should not be the first solution that comes to mind, but rather the last resort after other safer alternatives have been exhausted.
Consider walking along the riverbank upstream or downstream in search of a safer crossing point, such as a narrower section, a shallow area, or a natural bridge. By taking the time to evaluate the river and your options, you increase your chances of a safe and successful crossing.
Crossing a River: Individual vs. Group Strategies
Crossing a river can be a vastly different experience depending on whether you’re alone or part of a group. Strategies that work well for an individual may not necessarily apply when there are multiple people involved.
Let’s break down these differing strategies and explore the optimal techniques for both scenarios. This knowledge can mean the difference between a successful river crossing and a hazardous situation.
1. Maintaining Two Points of Contact: The Role of a Trekking Pole
When crossing a river, maintaining at least two points of contact with the riverbed at all times is crucial to ensure stability and safety. This is where a trekking pole becomes your best ally. A trekking pole provides additional support, helping to balance your weight and easing the pressure on your knees and ankles.
When you move, make sure your trekking pole and one foot are always securely positioned before moving the other foot. This way, even if one foot slips, the other foot, and the trekking pole will keep you stable. Also, lean slightly upstream into the current, since if you get knocked off balance, you’ll fall onto your back, not face first.
In essence, a trekking pole acts as an extension of your arm, giving you an extra point of maintenance contact. By adopting a systematic approach using a trekking pole, you can maintain your balance throughout the crossing, thereby reducing the risk of slips and falls.
2. Lessening Water Resistance: A Key to Smooth River Crossing
While crossing a river, it’s imperative to note that water resistance can significantly hinder your ability to maintain balance and move effectively. The force exerted by the flow of water can easily destabilize an individual if not properly managed.
One way to lessen water resistance is by positioning your body sideways relative to the current, rather than facing it directly. This decreases the surface area against which the water can push, subsequently reducing the force of the water against your body.
Additionally, wearing streamlined clothing can minimize the drag caused by the water. Loosely fitted or baggy clothing can catch the current and pull you off balance. It’s advisable to wear tight-fitting clothing that doesn’t impede movement or create unnecessary resistance.
This method can be used both individually and with groups. It’s about smartly navigating through the force of water, adapting your body positioning and attire to minimize resistance, consequently ensuring a safer crossing experience.
3. Crossing Rivers in Groups: The Locking Arms Technique
When crossing rivers as a group, an effective method to ensure stability is the ‘Locking Arms Technique. This approach capitalizes on the collective strength of the group, providing additional support and stability for each individual.
- Form a Line: The tallest and strongest individuals should be positioned at the upstream end, while the shorter or lighter members should be placed downstream. This arrangement helps to break the force of the current, making it easier for those downstream.
- Lock Arms: All group members should turn sideways relative to the current and lock arms with the individuals beside them. This creates a human chain, with each individual supporting the others.
- Step Together: To maintain balance and a strong formation, all group members should move together. This can be achieved by identifying a group leader who will guide the movement’s pace.
- Stay Vigilant: It is crucial to remain alert and communicate effectively with each other throughout the crossing. If any group member feels unstable or in danger, they should inform the others immediately.
This technique, when used correctly, can enhance group stability and safety. Not only does it capitalize on the physical strength of the group, but it also fosters cooperation and teamwork, making the challenging task of crossing a river a more manageable, and potentially even enjoyable, group experience.
4. The Human Tripod: An Effective Group Crossing Technique
The ‘Human Tripod Method’ is another effective approach for crossing rivers in groups, particularly well-suited for trios. It draws its name from the stability a three-legged structure inherently possesses, replicating this stability in a river crossing application.
- Formation: The three individuals form a triangle, each standing side by side and facing the same direction.
- Locked Support: Everyone locks their arms over each other’s shoulders, creating a robust, interlinked structure where each individual supports, and is supported by, the others.
- Shared Stability: The group then moves in unison, one step at a time, each person providing stability for the others.
Employing the human tripod method has its distinct advantages. Firstly, the interconnected structure distributes the force of the water across three individuals, making it easier to withstand.
Additionally, this method inherently promotes communication and synchronization amongst the group — key factors that can significantly enhance safety during the crossing.
The triangular formation also allows for a 360-degree field of view, ensuring everyone is aware of their surroundings and can react appropriately to any unexpected changes or hazards.
5. Swimming: A Practical Approach for River Crossings
Swimming can be an effective method for crossing rivers, especially in certain conditions. This technique is ideally employed in shallow waters with a slow current, where the riverbed can be seen clearly, and no significant obstacles such as rapids or large rocks are present.
When attempting to swim across a river, it’s essential to use a swimming stroke that optimizes both energy preservation and direction control. The ‘breaststroke’ and ‘sidestroke’ are especially suitable given their inherent characteristics. The breaststroke, with its symmetrical movement, provides excellent stability and control, allowing for adjustments in direction with minimal effort. The sidestroke, on the other hand, is a more relaxed stroke, enabling the swimmer to conserve energy while maintaining a steady pace.
However, regardless of the swimming technique employed, safety should always be the primary concern. It is crucial to assess the situation thoroughly before entering the water, taking note of the current’s strength, water temperature, and potential exit points.
This method should only be attempted by individuals with a competent level of swimming proficiency, and preferably, lifeguard training. After all, the goal is to cross the river safely and effectively, and this requires both physical ability and strategic thinking.
6. Rope-Assisted River Crossings
When crossing rivers, particularly those with strong currents or deep water, using a rope can greatly enhance safety and control. Two well-established methods can be employed depending on the situation and the number of people involved: the ‘Single Rope Technique’ for individuals and the ‘Group Rope Technique’ for larger parties.
Single Rope Technique
The Single Rope Technique is most effective for individual river crossings. The rope, anchored securely on both sides of the river, serves as a steadying guide for the person crossing.
To anchor the rope to the other side of the river, begin by finding a sturdy, well-rooted tree or rock formation near the water’s edge. Tie one end of the rope securely around this anchor point using a reliable knot, such as a bowline or figure-eight follow-through, ensuring it is tight and stable.
Maintain a firm grasp on the rope, using it to stabilize and guide yourself as you navigate across the river. It’s crucial to keep the body slightly downstream, facing the direction of the current to maintain balance and prevent being swept away.
Group Rope Technique
For larger groups, the Group Rope Technique provides a safer and more controlled crossing method. In this method, a strong swimmer or a pair of strong swimmers, preferably with lifeguard training, crosses the river first, anchoring the rope on the other side.
The remaining group members then cross one at a time, using the rope as a guide and stabilizing aid. Depending on the river’s conditions, additional safety measures such as a belay or a downstream safety person might be necessary.
Both techniques require a firm understanding of knot-tying and anchoring, as well as the ability to assess the situation accurately. The Bowline and Figure-Eight knots are often the preferred choices for river crossings due to their reliability and strength. Both knots are secure, easy to inspect, and relatively straightforward to untie, even after being loaded with weight.
Regardless of the method chosen, the safety of all individuals must be prioritized above all else. As always, when dealing with unpredictable natural environments, caution, patience, and preparedness are key.
What to Do If You Fall While Crossing
In the event of a fall, while crossing, it’s vital to remain calm and adopt the defensive swimming position: flat on your back with your feet downstream and your head slightly elevated.
This position facilitates navigating obstacles, keeping you on the water’s surface, and reducing the risk of foot entrapment. Swiftly aim towards a safe point on the shore using your arms to steer. Remember, the priority is to escape the river’s current, not retrieve lost equipment or belongings.
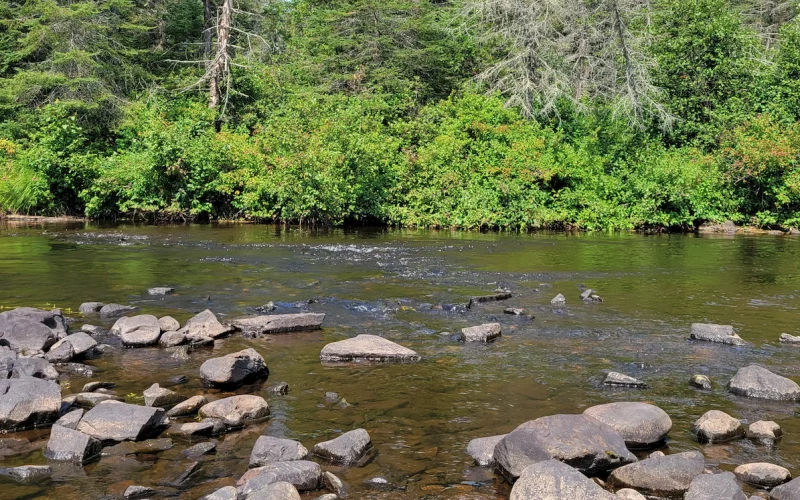
Tips for Finding the Right Place to Cross
When selecting the appropriate place to cross a river, several factors need to be considered. These can dramatically impact the success and safety of your crossing.
- Scouting the Banks: Start by examining the banks on either side of the river. Look for spots where the banks are not too steep or slippery, which can increase the risk of slips and falls. A gentle, non-slip slope is ideal for both the beginning and end of your crossing.
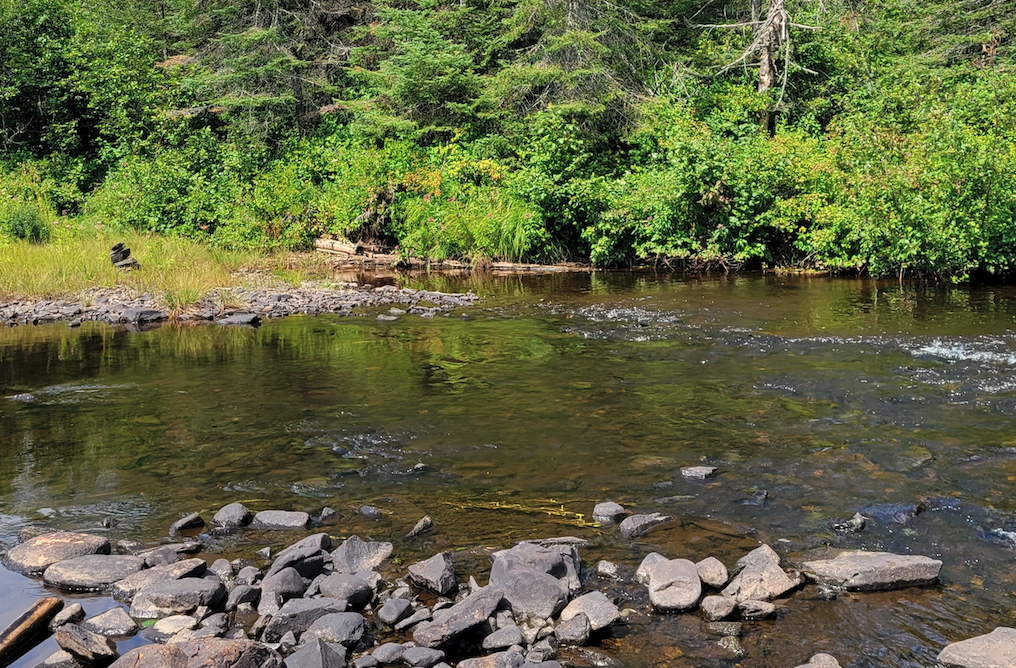
- Searching for Game Trails: Animals are experts at finding the safest places to cross bodies of water. Look for game trails that lead to the river’s edge. These are usually indicative of a good place to cross, as animals tend to favor shallow areas with slower-moving water.
- Checking the Current: If possible, throw a stick or leaf into the river to gauge the strength of the current. Fast-moving or deep water can pose significant risks. Ideally, you want to find a spot where the water is moving slowly and is no higher than your knee.
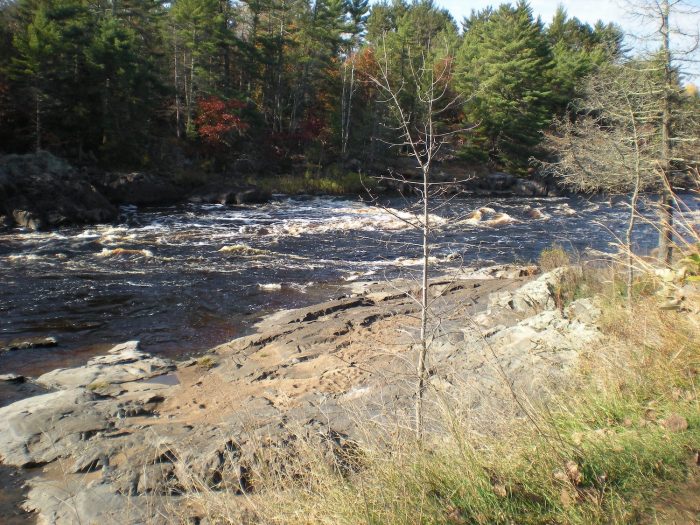
- Avoiding Narrow Gaps: Narrow sections might seem like the shortest route across, but these areas can often have the strongest current. It’s safer to avoid these narrow gaps and instead opt for wider, shallower crossing points.
- Maintaining a Safe Water Level: As a rule of thumb, it is strongly recommended to avoid crossing water that is deeper than your knees. Deeper water can lead to a loss of balance and control, significantly increasing the risk of being swept away by the current.
- Avoiding Debris and Big Rocks: It is crucial to be aware of potential obstacles both above and below the water’s surface. Floating debris such as logs, branches, or rubbish can pose a threat, potentially knocking you off balance or causing injury. Similarly, submerged hazards like rocks, broken glass, or trash can create a dangerous footing.
Weather conditions can significantly impact the safety of a water crossing. Rain, for instance, can swiftly transform a previously safe crossing point into a fast-flowing torrent, increasing the risk of slips and falls. It’s also important to remember that cold water can initiate a shock response that could impede your ability to swim or scramble to safety.
Conclusion
Safely crossing a river requires careful assessment and a strategic approach. Paying attention to the current, the depth of the water, and potential obstacles can significantly reduce the risk of accidents. In a scenario where this might happen to you, these techniques can ensure a safer, more enjoyable wilderness experience.